Infrared thermometers: how to use one to find cold walls
A €15–20 instrument shows where your home is cold enough for condensation and mould — if you get the emissivity, the distance and the time of day right.
- Measure at 7 am in winter, 30–50 cm from the wall: at 12:1, from 1.2 m the thermometer is already reading a ~10 cm circle.
- Leave emissivity at 0.95 for paint and plaster; on aluminium and shiny metal, measure over a strip of paper masking tape.
- Compare with the dew point: a wall below it condenses; up to ~3 °C above, mould can grow with no visible droplets.
IN THIS GUIDE
What is an infrared thermometer for at home?
An infrared thermometer measures the temperature of a surface without touching it: aim, pull the trigger and read. It costs ~€15–20 and, together with a ~€10 hygrometer, answers the most important question in a mould case: are there places in the home cold enough for moisture in the air to condense?
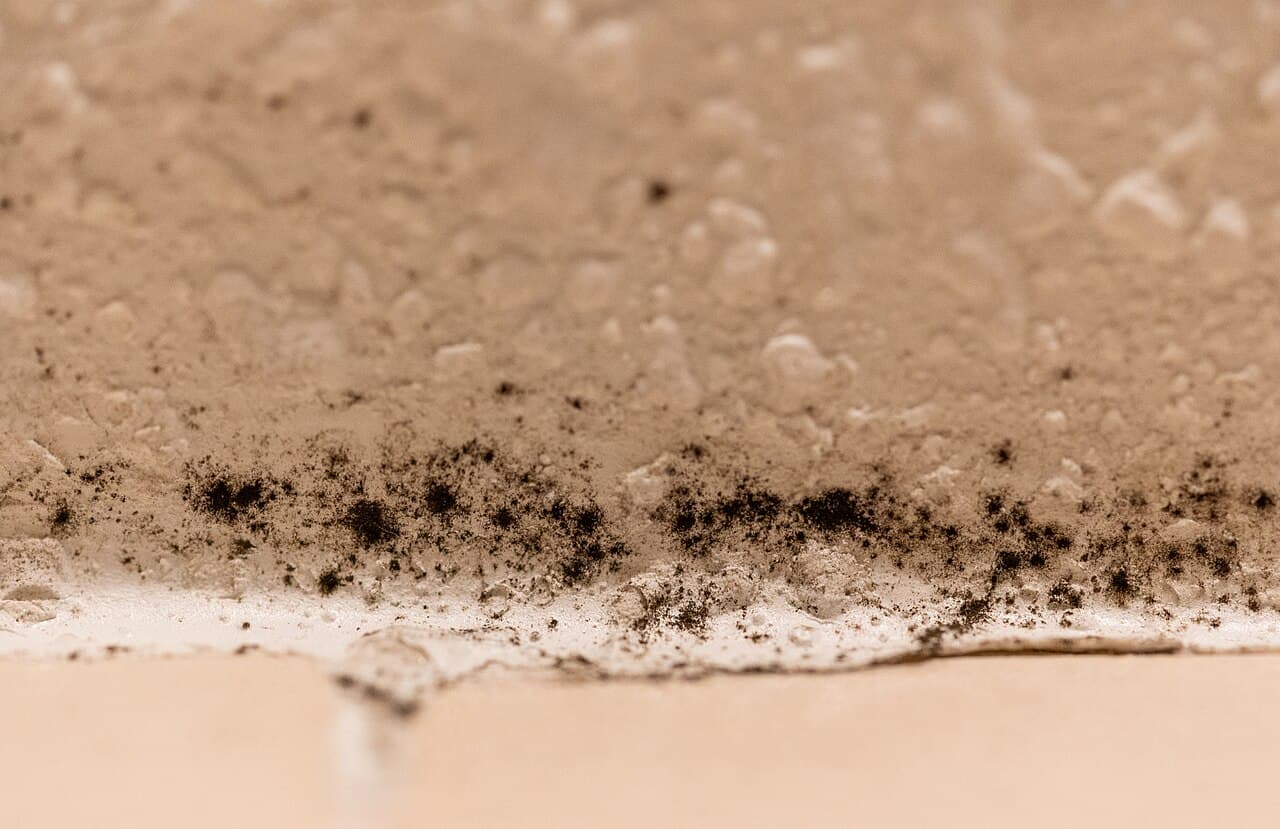
Condensation and mould don't appear where the home is damp, they appear where it is cold. In an uninsulated 1970s building, the outside wall can be 4–5 °C below the bedroom air in a corner or along the ceiling slab. That is where mould starts, and that is what the thermometer shows.
The instrument doesn't measure humidity and doesn't «see» water inside the wall. It measures surface temperature. The value only means something when you compare it with the dew point of the air, which you get from the hygrometer and the dew point calculator.
Emissivity: the setting almost nobody adjusts
Infrared thermometers work out temperature from the radiation a surface emits. Each material emits differently, and this property is called emissivity, on a scale from 0 to 1. Most instruments come set to 0.95, which works well for the surfaces in a home.
| Surface | Reading at 0.95 | What to do |
|---|---|---|
| Paint, plaster, stucco | reliable | measure directly |
| Wood, matt tiles, wallpaper | reliable | measure directly |
| Glass | acceptable, but may reflect heat sources | measure head-on and check with tape |
| Aluminium, stainless steel, shiny metal | wrong: reflects the temperature of other objects | stick on paper masking tape and measure over it |
| Very glossy glazed tiles | may reflect | measure head-on or over tape |
The case that matters most in Portugal is aluminium window frames without a thermal break: measured directly, they can look lukewarm when they are ice-cold. Stick a strip of paper masking tape on the frame, wait a few minutes for it to reach the same temperature and measure over the tape. The guide on aluminium windows without a thermal break explains why those frames condense.
Distance and spot size: what 12:1 means
The thermometer doesn't measure the laser dot: it measures the average of a circle that gets bigger the further away you are. The distance-to-spot ratio, given on the box or in the manual, tells you the size of that circle. On a 12:1 instrument, every 12 cm of distance corresponds to 1 cm of measured diameter.
| Distance from the wall | Measured diameter (12:1) | Good for |
|---|---|---|
| 30 cm | ~2.5 cm | corners, joints, window reveals |
| 60 cm | ~5 cm | behind furniture, sills |
| 1.2 m | ~10 cm | broad areas of wall |
| 3 m | ~25 cm | not very useful: mixes ceiling, wall and corner |
Measuring a ceiling corner from the floor, 2–3 m away, averages the cold part of the corner with the warmer wall around it. The result looks better than reality. Climb a stable stepladder or hold the instrument 30–50 cm from the surface. The laser is only a sight; the measured circle is always larger than the red dot.
When to measure: 7 am, in winter, with the home as usual
The best time is early morning on a cold winter day, before opening windows and before switching on heaters. That is when outside walls are coldest and bedroom humidity is highest, after a night of breathing with the door shut.
- Don't measure walls in direct sun or that have had sun in the last few hours: they are warmer than for the rest of the day.
- Don't measure straight after heating the room or opening windows: surfaces take time to settle.
- Read the hygrometer at the same moment, in the middle of the room, to work out the dew point.
- Repeat on 3–4 different mornings, including the coldest morning of the week.
Note the outdoor temperature that day. In Lisbon, with 8 °C outside, an uninsulated wall behaves very differently from a 14 °C day. Measuring on mild days underestimates the problem.
Where to aim: corners, behind furniture and window reveals
Start with a reference reading: the middle of an interior wall, away from windows. Then go through the spots where condensation usually appears:
- Upper corners of outside walls, especially where two outside walls meet.
- The line between the outside wall and the ceiling, where the concrete slab forms a thermal bridge.
- Behind wardrobes, beds and sofas against outside walls — move them a few centimetres to measure.
- Window reveals, lintels and sills, and the roller-shutter box.
- Concrete columns and beams built into the façade.
- Lower corners of outside walls, next to the floor.
A difference of 3–4 °C between the corner and the middle of the same wall is a clear sign of a thermal bridge. Draw a simple plan of the room, note the values and repeat after changing habits: that is how you see whether moving a wardrobe or heating a bedroom more steadily makes a difference. The guide mould in the wardrobe uses this method.
Comparing with the dew point: what the values mean
The dew point is the temperature at which water vapour in the air turns into water. It is calculated from the air's temperature and relative humidity. Example: at 18 °C and 75% RH in the bedroom, the dew point is ≈13.5 °C. But mould doesn't need droplets: it grows when humidity at the surface stays above ~80% for days, which in that bedroom happens on any surface below ~17 °C.
| Wall temperature compared with the dew point | What it means |
|---|---|
| At or below | condensation: there is water on the surface, even if you can't see it |
| Up to ~3 °C above | mould risk zone, especially if it repeats every morning |
| ~3–5 °C above | narrow margin: watch out on colder days or with more vapour |
| More than ~5 °C above | condensation unlikely at that spot, in those conditions |
The numbers also show where to act. You can lower the dew point by reducing vapour — airing, extractor fans, drying laundry outside — or raise the wall temperature by heating more steadily and moving furniture away. Both routes are in the guide on condensation.
Limits of the thermometer, and which one to buy
A wall wet from rising damp or water ingress also shows up cold, because evaporating water cools the surface. So a cold area near the floor of a ground-floor flat, with salts, isn't necessarily condensation. Combine the reading with the other signs — shape of the stain, season, floor — or use the condensation or rising damp tests and the free diagnosis.
For home use, look for a distance-to-spot ratio of at least 12:1, 0.1 °C resolution and, if possible, adjustable emissivity. You don't need more. The humidade.pt shop has a kit with a thermometer and a hygrometer, but any model with these features will do. Some links on the site are affiliate links and are always marked — see how we make money.
Frequently asked questions
For finding cold spots in a home it does much of the job, spot by spot and with more patience. A thermal camera shows the whole wall at once and finds unexpected thermal bridges faster, but it costs considerably more. In both cases the values only make sense alongside the air temperature and humidity at the same moment.
You shouldn't. Infrared surface thermometers are calibrated for other ranges and a different emissivity, and don't meet the requirements for clinical thermometers. To take a person's temperature, use a thermometer made for medical use. The reverse also applies: a forehead thermometer isn't suitable for measuring walls and window frames.
Small differences of 0.2–0.5 °C are normal. Bigger ones usually come from distance, which changes the size of the measured circle, from the angle, because measuring at a steep angle increases reflections, or from the instrument not having settled after coming from another room. Always measure head-on, from the same distance, and wait a few minutes when changing rooms.
There is no fixed value: it depends on the room air and the outdoor temperature. What matters is the distance from the dew point. In a room at 19–20 °C with 55–60% humidity, the dew point is around 10–12 °C, and a wall at 16–17 °C has some margin. With more vapour in the air, the same wall can move into the risk zone.
SOURCES
- Building physics: dew point (Magnus formula)
- Building physics: emissivity and infrared temperature measurement
- Prices observed on Google.pt and online shops, Oct 2026